|
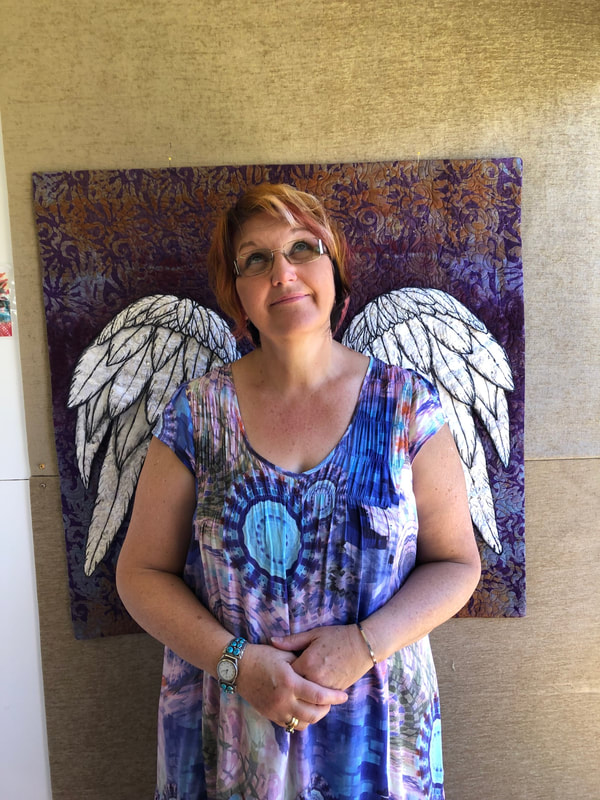
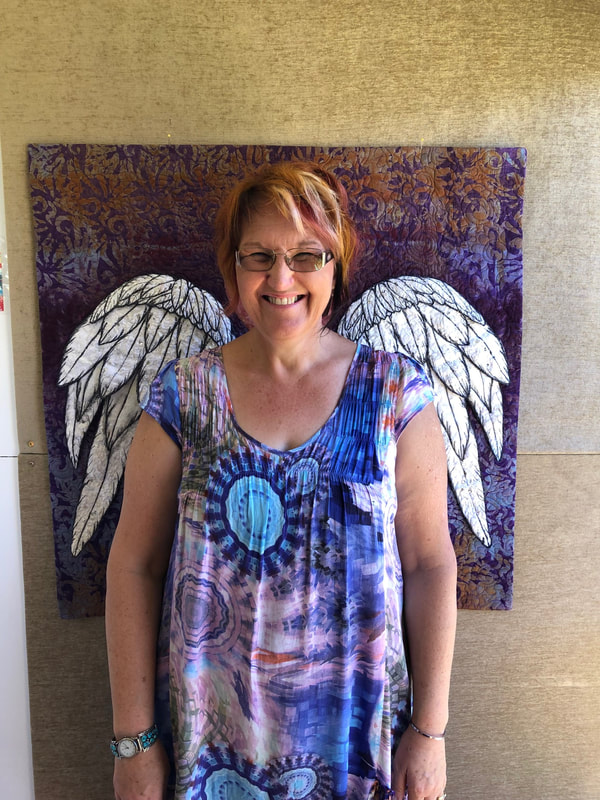
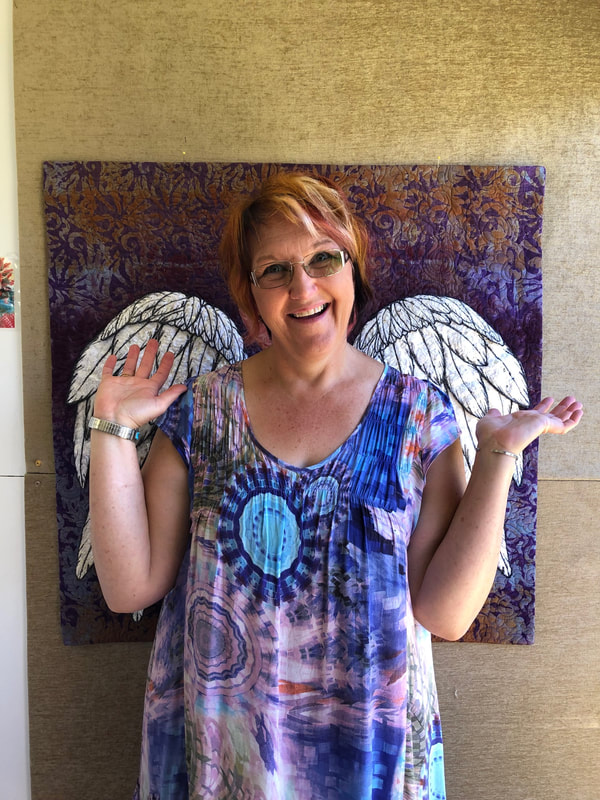
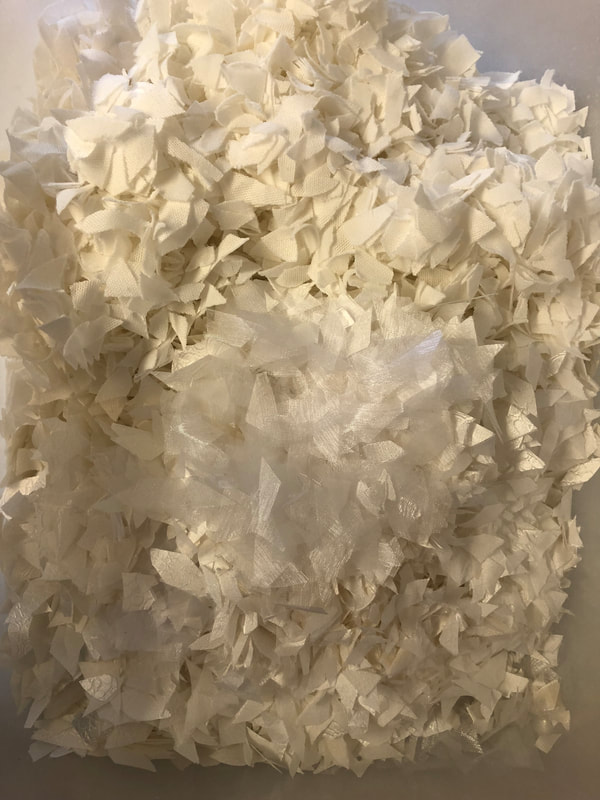
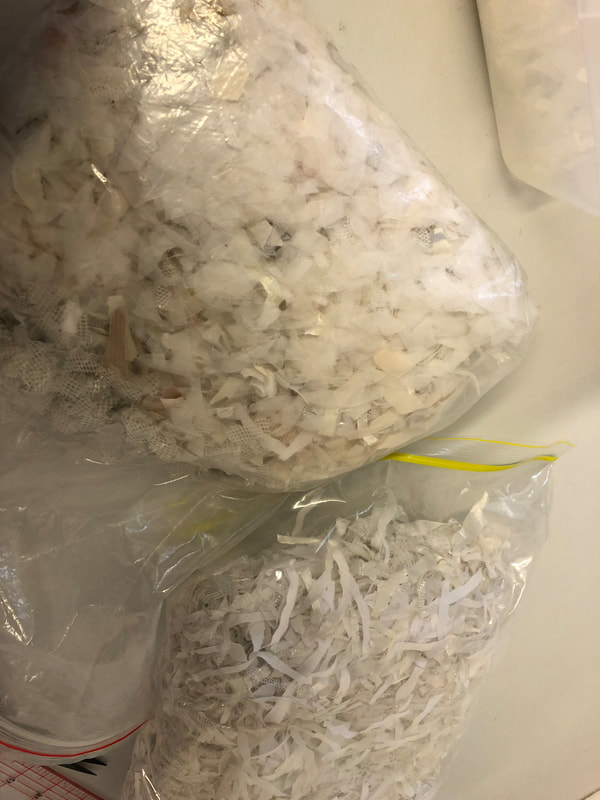
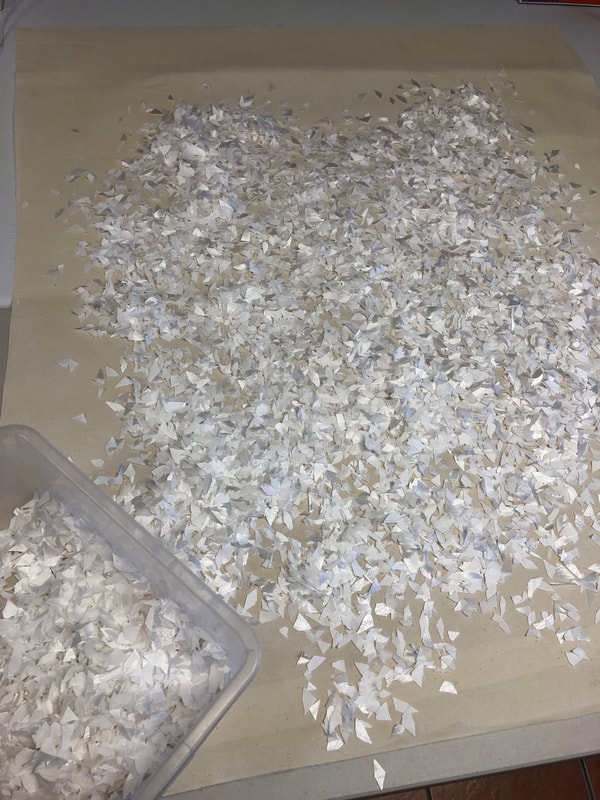
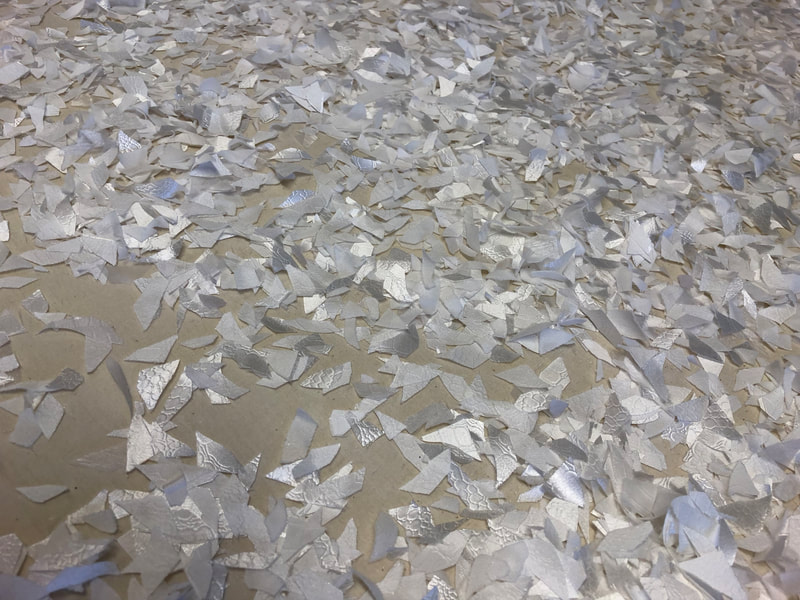
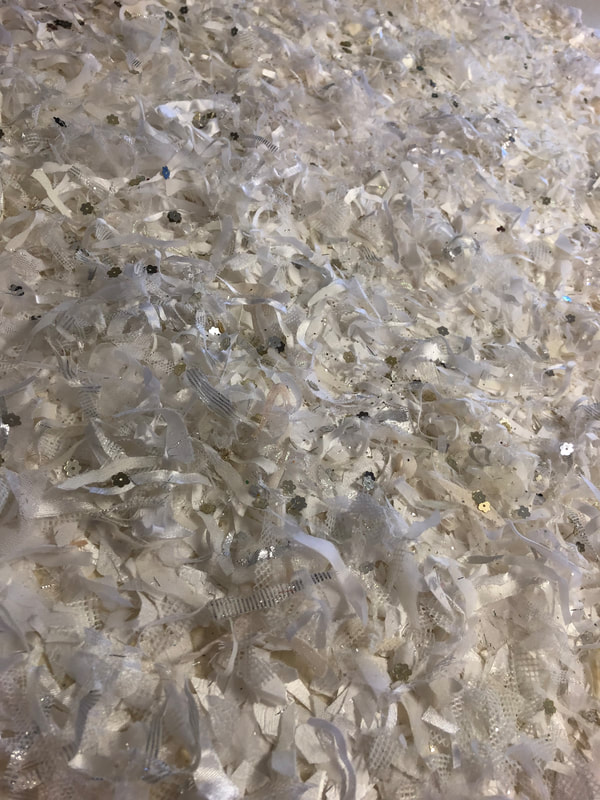
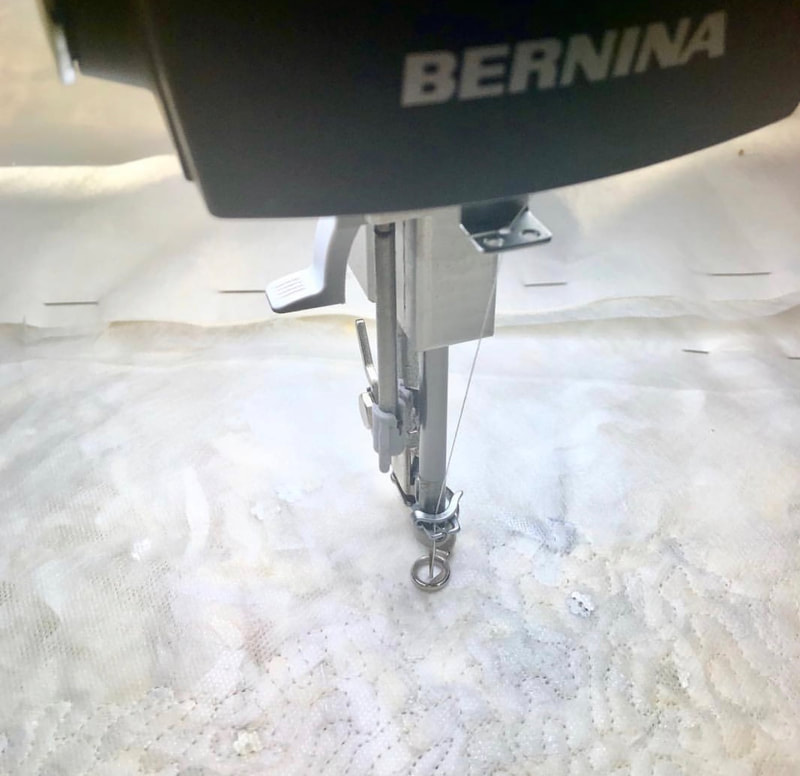
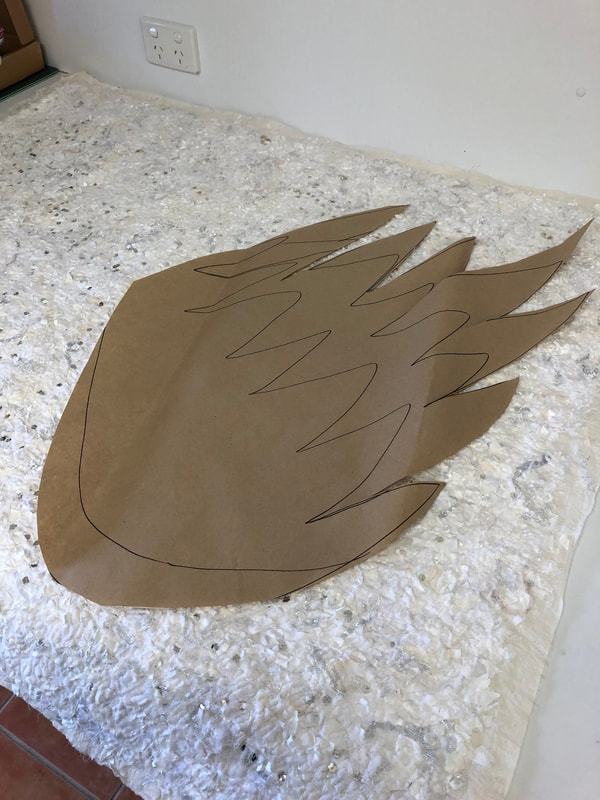
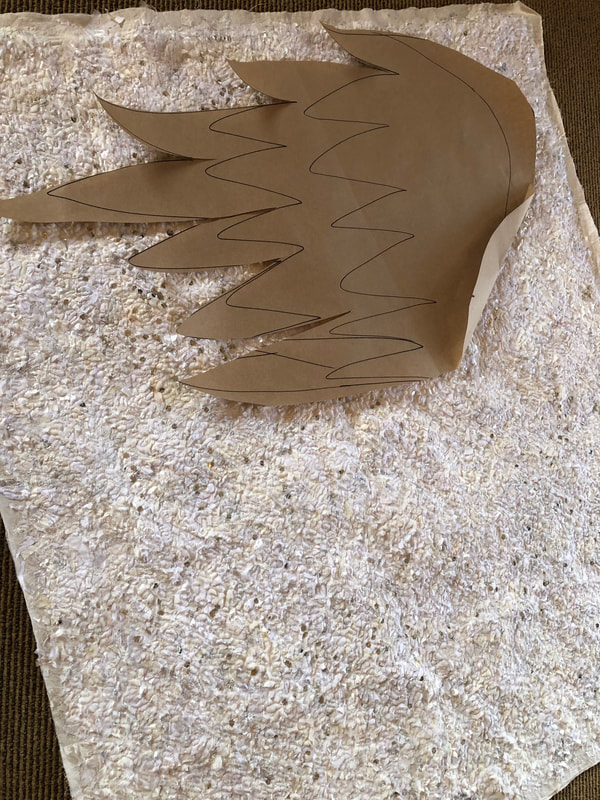
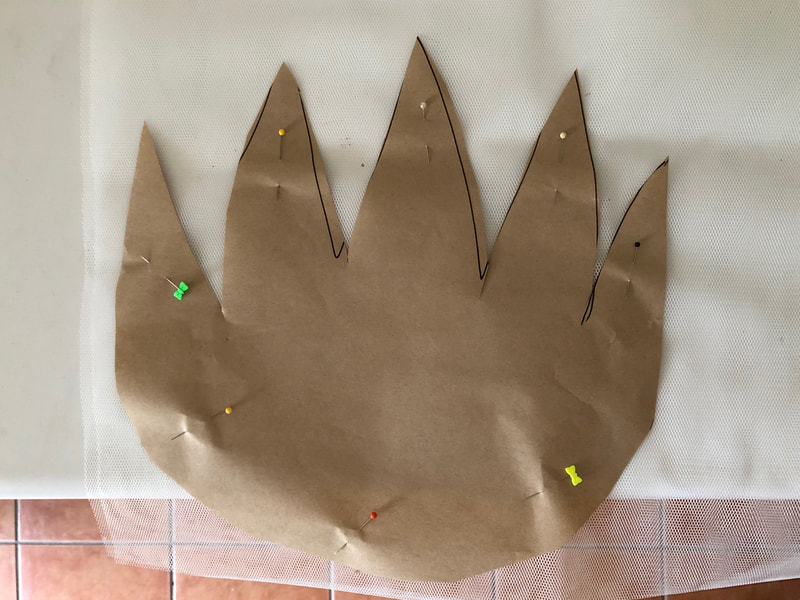
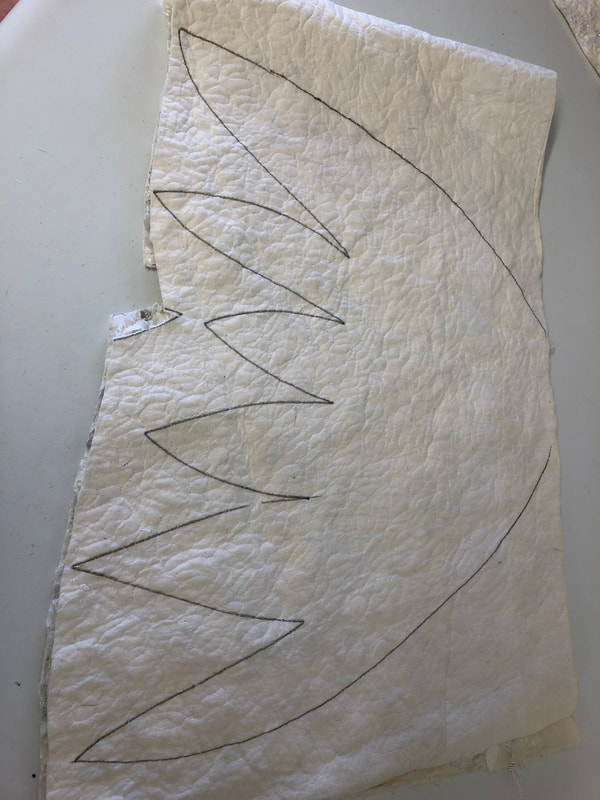
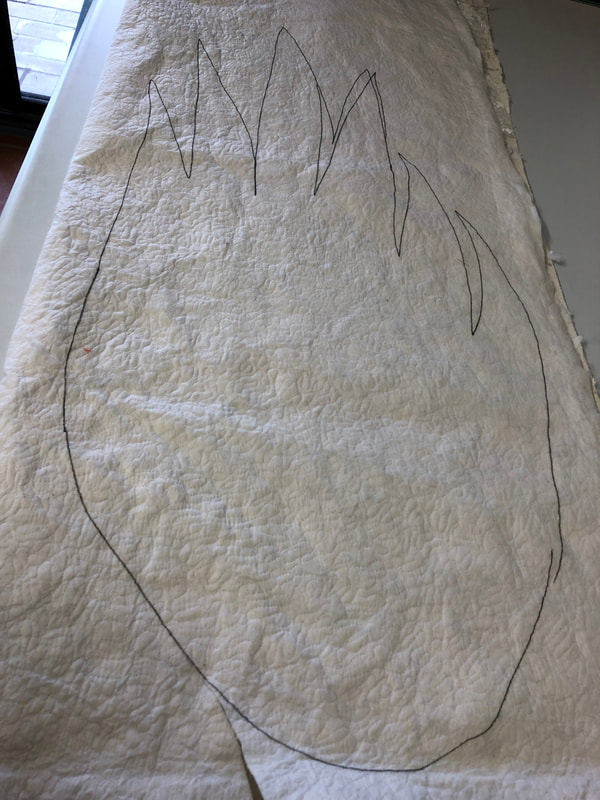
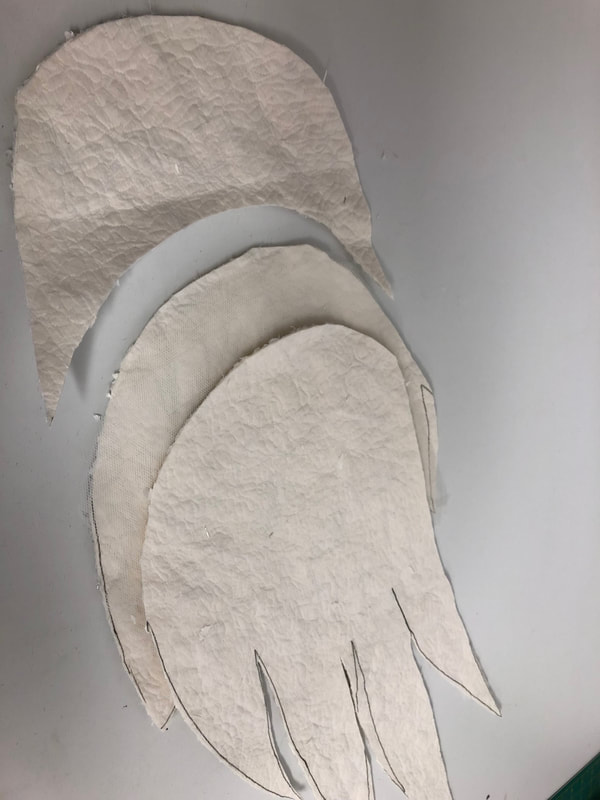
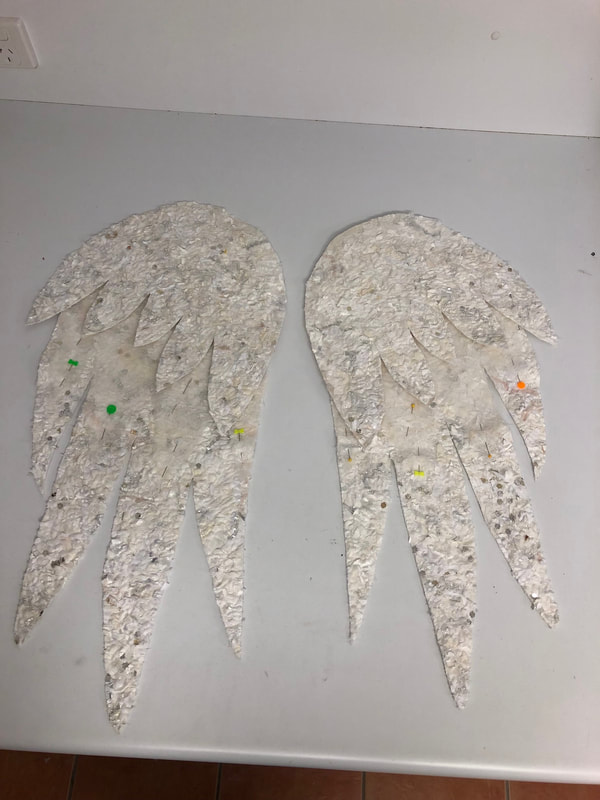
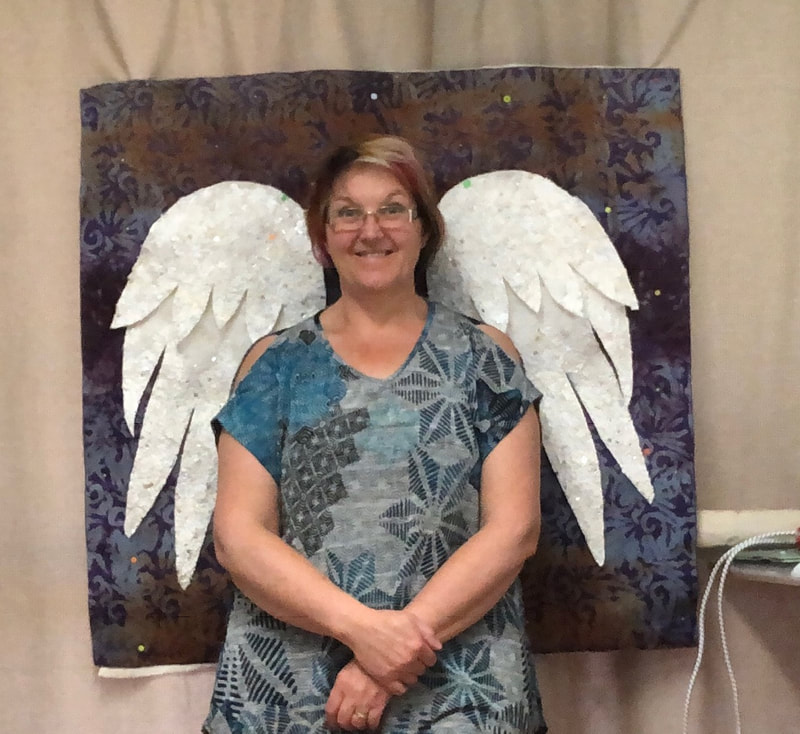
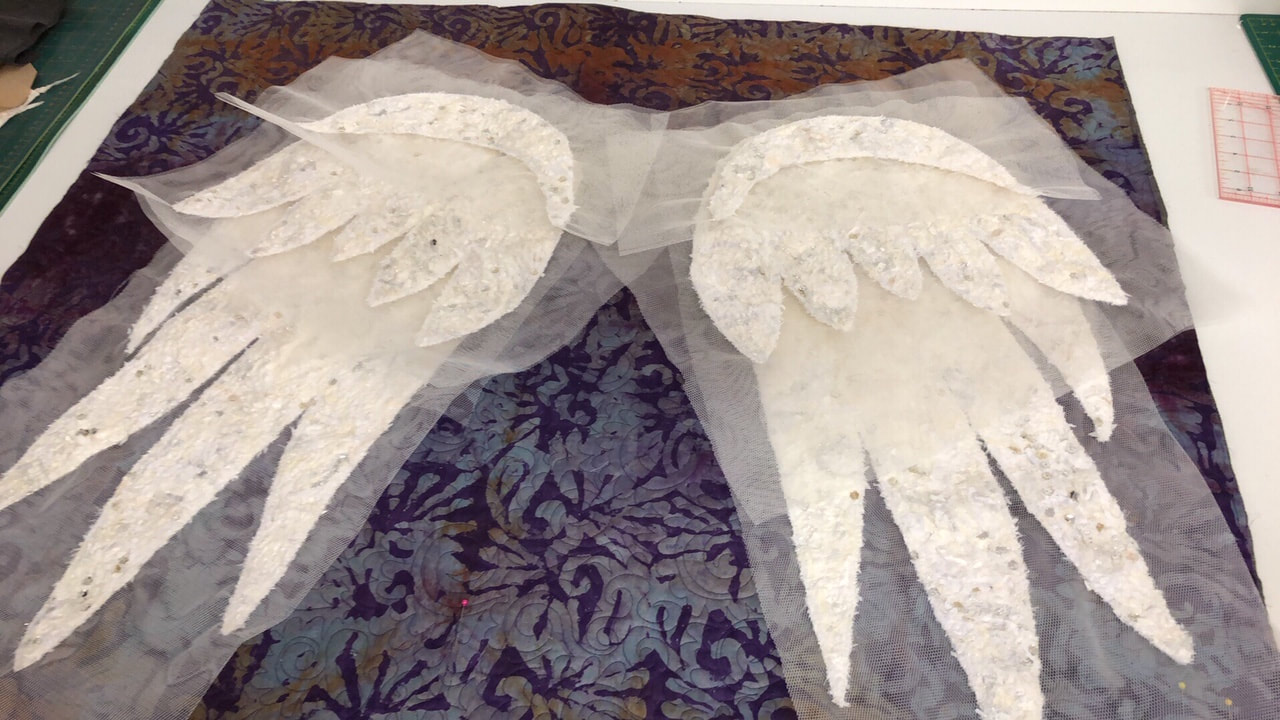
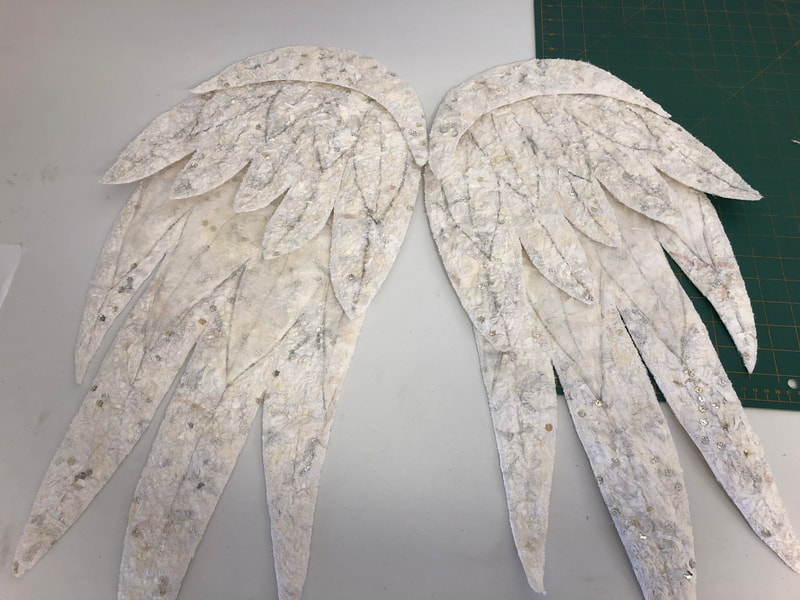
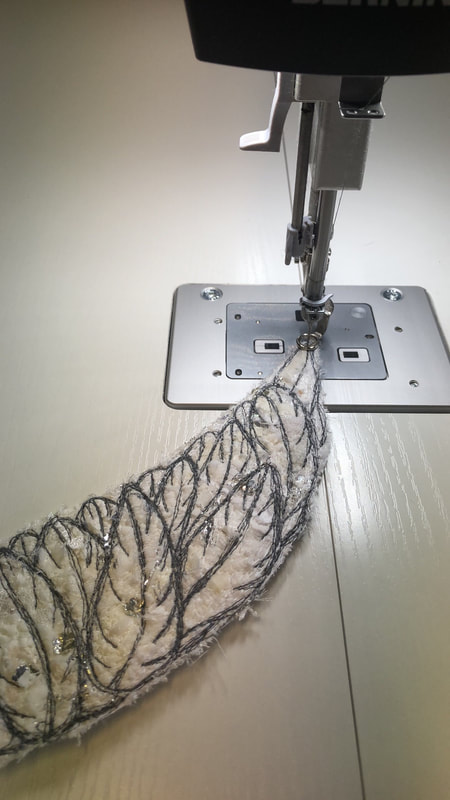
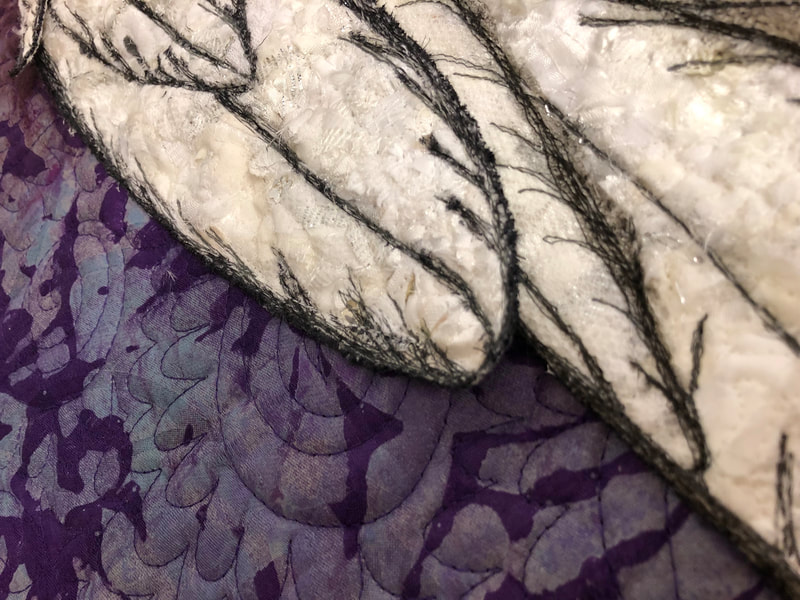
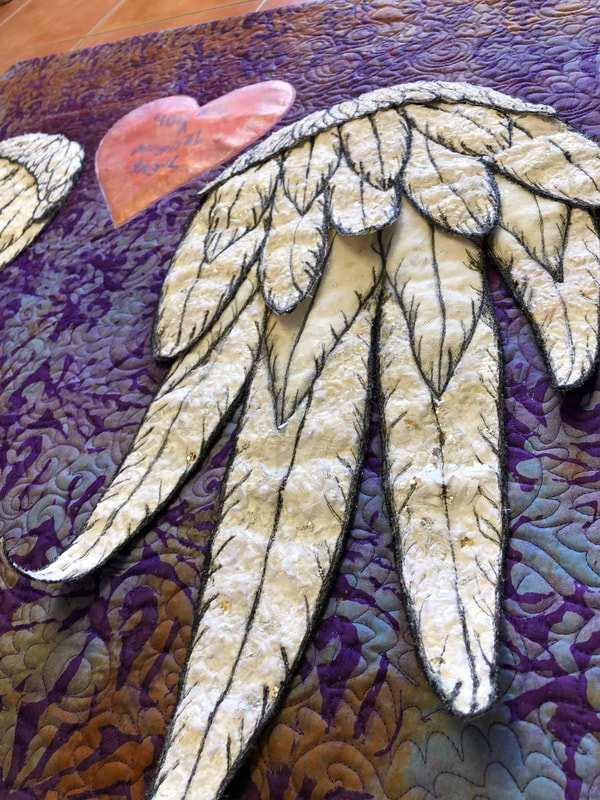
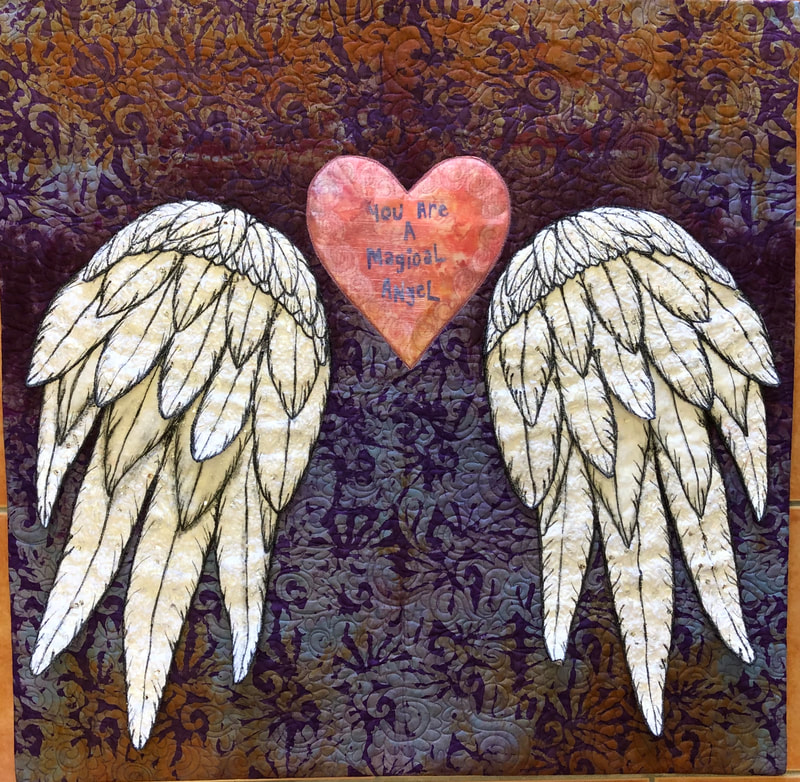
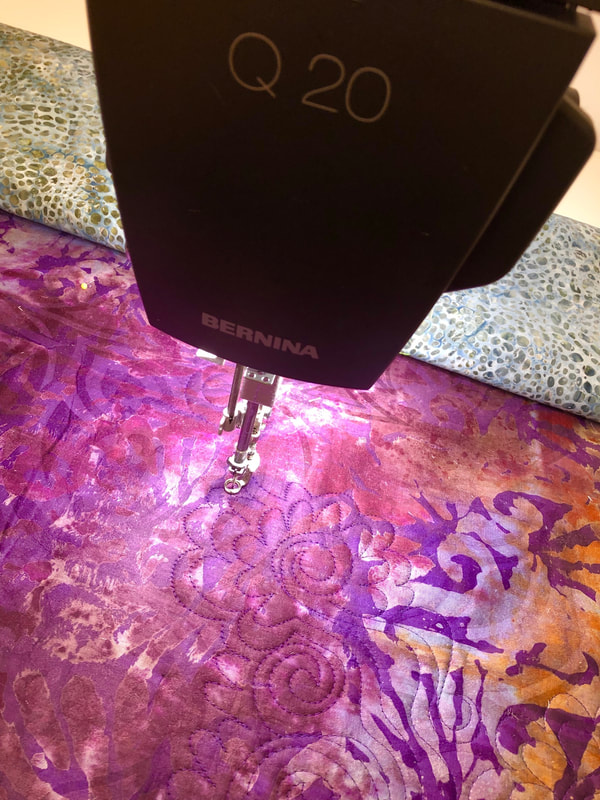
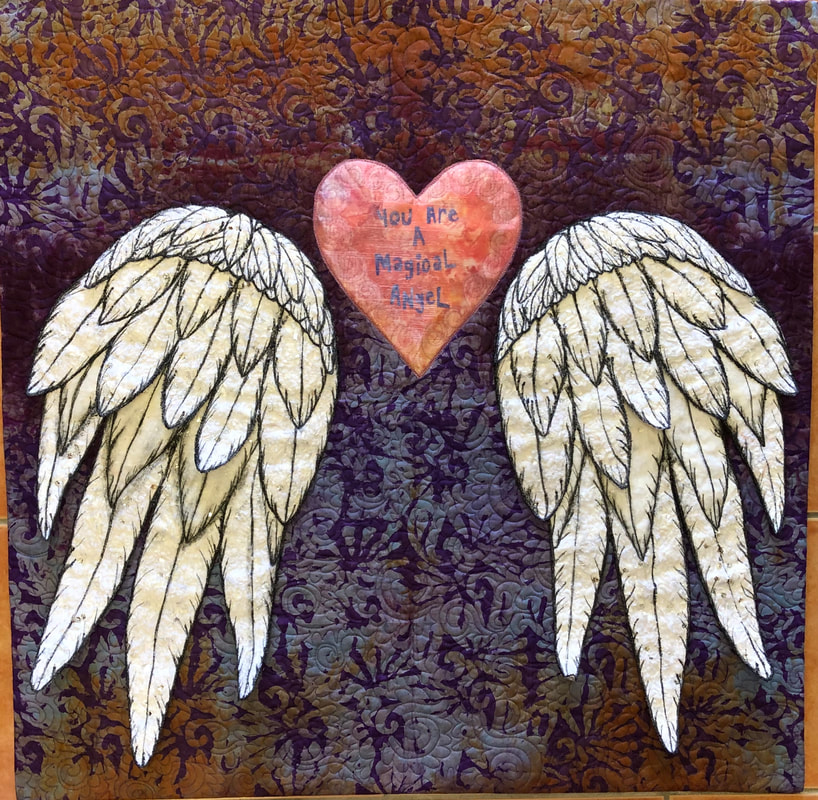
Hi Everyone hope this finds you well... This year I decided that I would have a go at entering the AQC Challenge at the Australian Quilt Convention in April in Melbourne and hoped I would be lucky enough to have it selected. I decided also that it was time to finally make the Angel Wings quilt I had wanted to make for along time... The inspiration came from all the walls I have seen over the years with huge Angel Wings painted on them to stand in front for photo opportunities, I just think this is a fabulous idea and wanted to make a quilt to share that same experience at a show somewhere. I have been planning to make the quilt for years and the theme Magic a 90cm x 90cm quilt could be the right fit with my 'Magical Angel' quilt well I think so anyway! I have to say I am not very good at entering competitions as there seems to always be something more important getting in the way like writing and designing workshops, packing kits, traveling to teach workshops and hosting events as well as my number one reason That is cuddling and minding grand babies. So 2019 is the year and I did make the Angel Wing quilt starting in late 2018...and here are some images to show how it happen... I collected lots of white fabrics including bits of tulle, lace, organza, and satin fabrics, I chopped them all up and mixed them together. I then stabilized the wrong side of a 100cm x 100cm piece of white fabric with a white stiff iron-on Vilene Stabilizer. Once I had made enough of the chopped fabric mix I then started to sprinkle it over the right side of the white background fabric till I had mostly covered the surface and then sprinkled some gold and silver sequins onto the surface. I pinned a water soluble Vilene over the sandwich of background and chopped fabric mix and pinned it all together with lots of pins to hold it while I stitched the surface. I then stipple stitched the whole surface and when it was completely covered I washed the piece out in warm water to dissolve the water soluble fabric surface away, I set it out to dry ready to use this new white fluffy fabric. I sketched up some wing patterns and set about tracing the pattern shapes onto the back of the wing fabric so I could cut all the 3 layered shapes out for each wing, being careful to keep them an opposite pair or a mirror image of each other. Once I had all the wing shapes cut out I did trim some back to reshape them a little and pinned them onto some coloured fabric to audition the shape and size and I couldn't wait to see what they looked like standing in front of them I then pinned the shapes all individually onto 2 layers of heavy white craft tulle to allow me to do all the stitching on the edges of each wing section I also cut an extra wing for each side in the craft tulle to give another layer effect on the textured surfaces of the wing. I added some basis lines for feather sections on all layers then I was brave enough to stitch the feathers onto the wings with white thread first, I cut the tulle away from the edges then gradually using darker threads when I realized it needed to be more defined, I also slightly touched up the stitching at the end with a black fine Artline texter, each wing layer was starting to take shape and I was finally starting to appreciate that this might actually look like a set of wings. 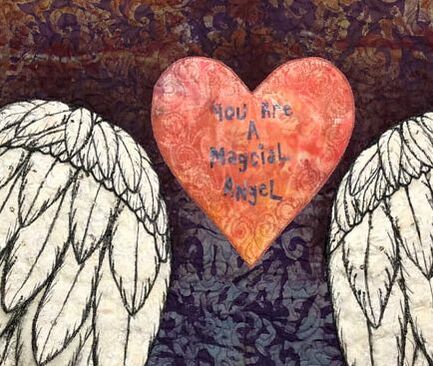 I continued to stitch and stitch between trips away to teach and also prepared the background with the three layers sandwiched together and quilted, I have not done a lot of decorative quilting and I tell the ladies in class all the time that I don't consider myself a quilter because my landscapes and textured surfaces really doesn't highlight decorative quilting its usually just about holding the quilt together and having it hang flat. Anyway this time I did some and its not too bad....I used a similar thread and tried to keep the momentum up and similar design throughout the quilting on the top. I then did facings and finished the edges, made the Velcro hanging sleeve with the instructions that accompanied the entry form (which was as hard for me as making the quilt itself lol). I then stitched the three layers of the wings together making sure they were as close a pair as I could, I stitched through the wing layers on the stitched thread lines and then positioned the wings on the quilted background and finally stitched the wings onto the quilt! Phew! Okay now I am thinking that it needs something in between the wings to connect them. I made the heart with a stabilized piece of dyed pink fabric and traced off some words I printed on the computer using a decorative funky script, I traced the reverse of the words onto the paper side of the fusible web and ironed them to the wrong side of the purple fabric and cut the letters out then I removed the paper backing off all the letters to reveal the sticky backing ready to iron into place. I arranged the words onto the centre front of the heart and pressed them into place with the iron, I covered the heart with a sheer clear organza to trap the letters underneath and stitched around the heart edge to add it to the quilt adding some decorative free motion stitching around the edges as well. I filled out the entry form online and Yahoo Done I am DONE! Now you would think I was finished as did I... Well think again! Finally relieved to be finished I added a photo to my Facebook page and went to bed by morning I was told that I had spelt Magical wrong.... "Where I asked because I could not find it in any of the text... ON THE QUILT I was told! Yep I DID!!!!!!!!! OMGoodness! How silly can you be....and all I could do was laugh at myself I have learnt to do that over the years it saves me a lot of stressing lol! So the next day I got up and fixed it and Now I am finished well all except the label so I will work on that soon. Thank you for all the lovely comments and I hope you get to one day have a photo in front of these Magical Wings and the photo makes you feel SPECIAL! 'Magical Angel' Happy Stitching and Creating!
Regards Caroline
6 Comments
|
HiI'm Caroline, and I use fabric and thread to tell my story. Archives
August 2023
Categories |
 RSS Feed