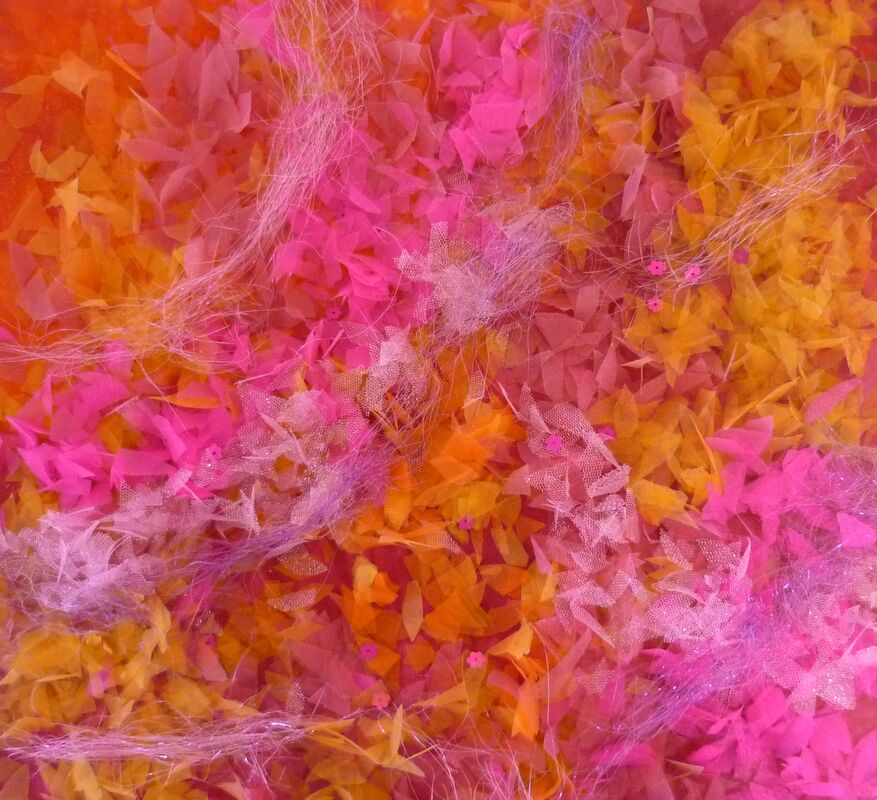
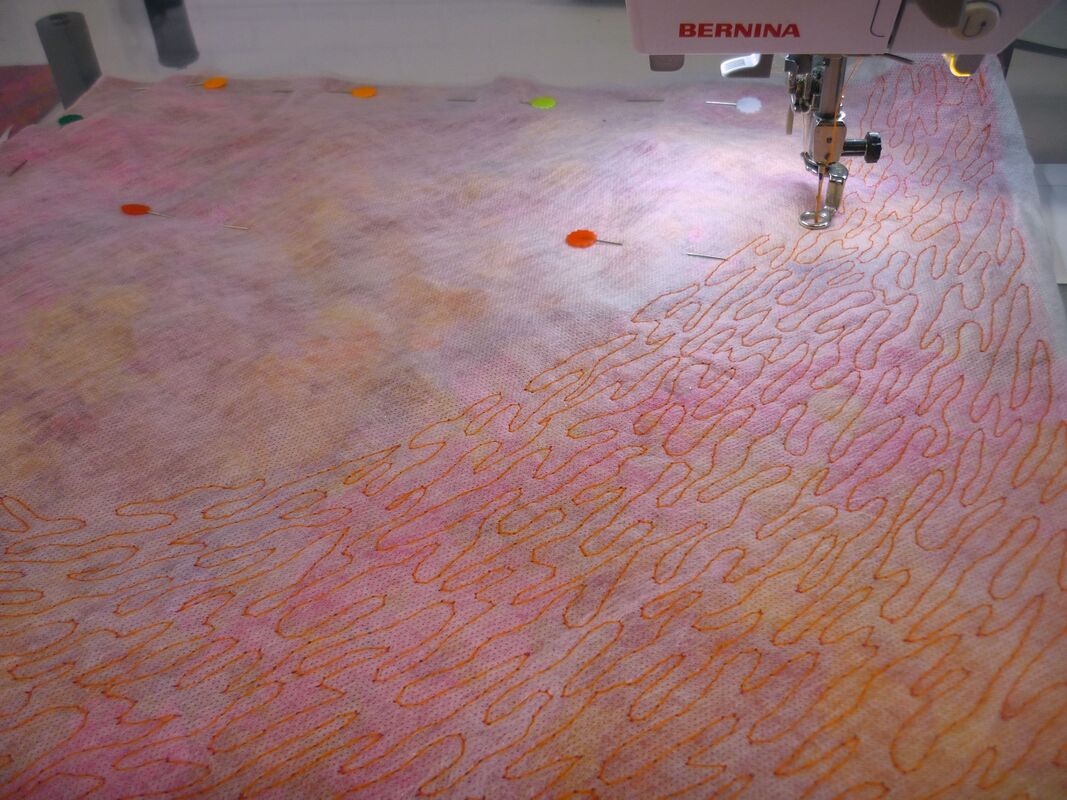
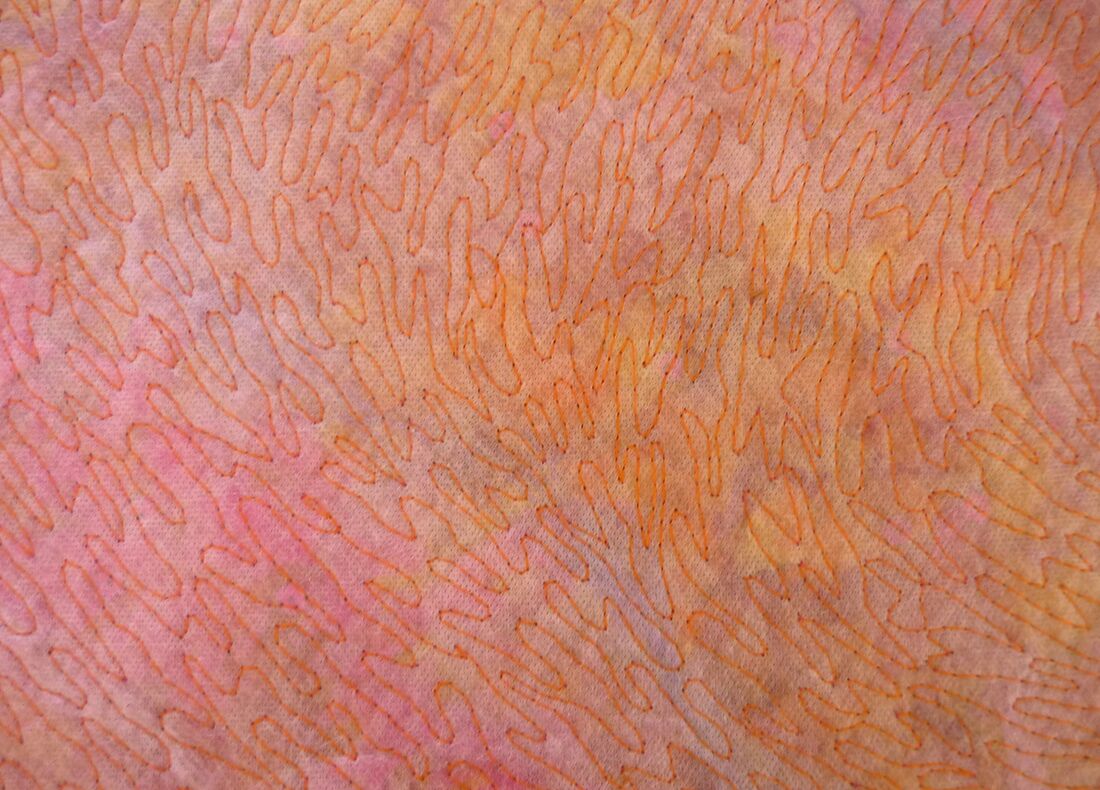
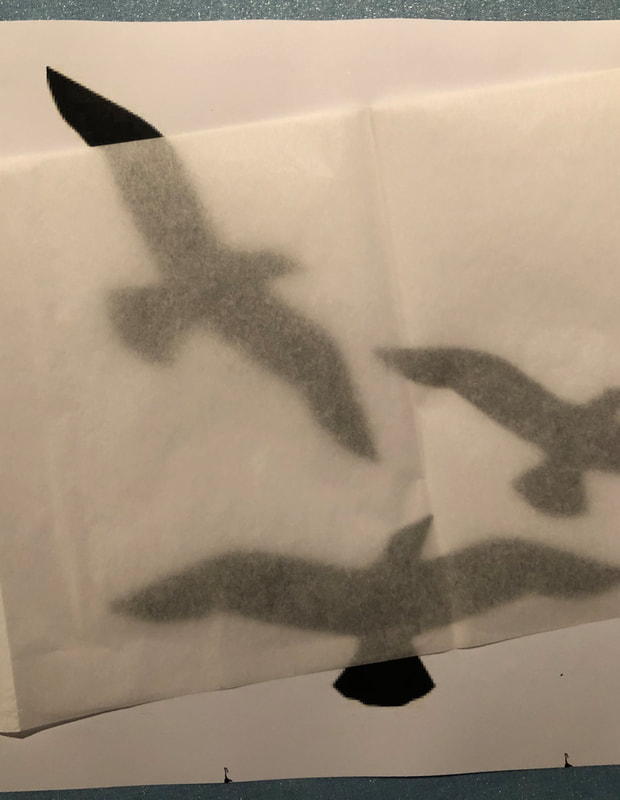
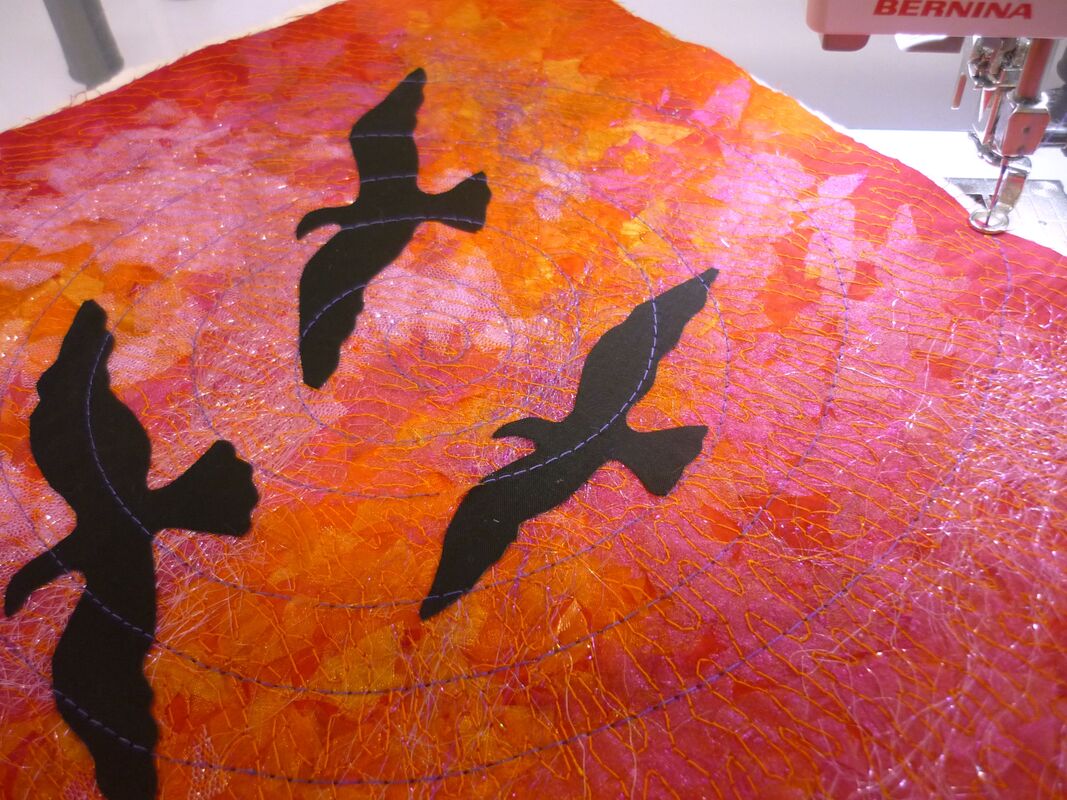
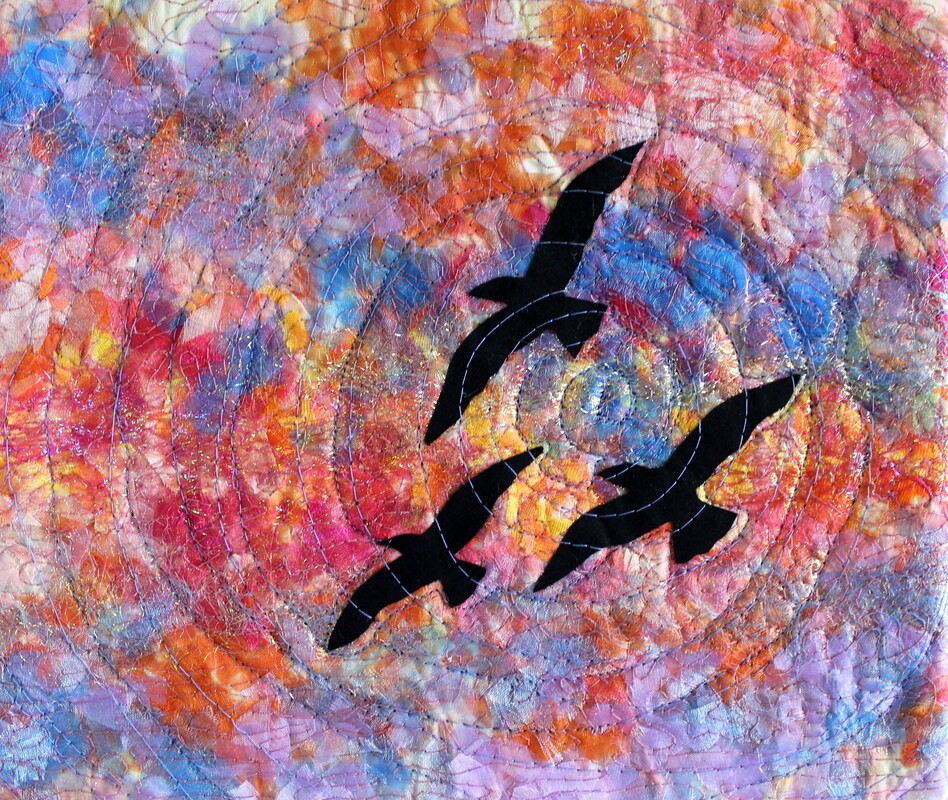
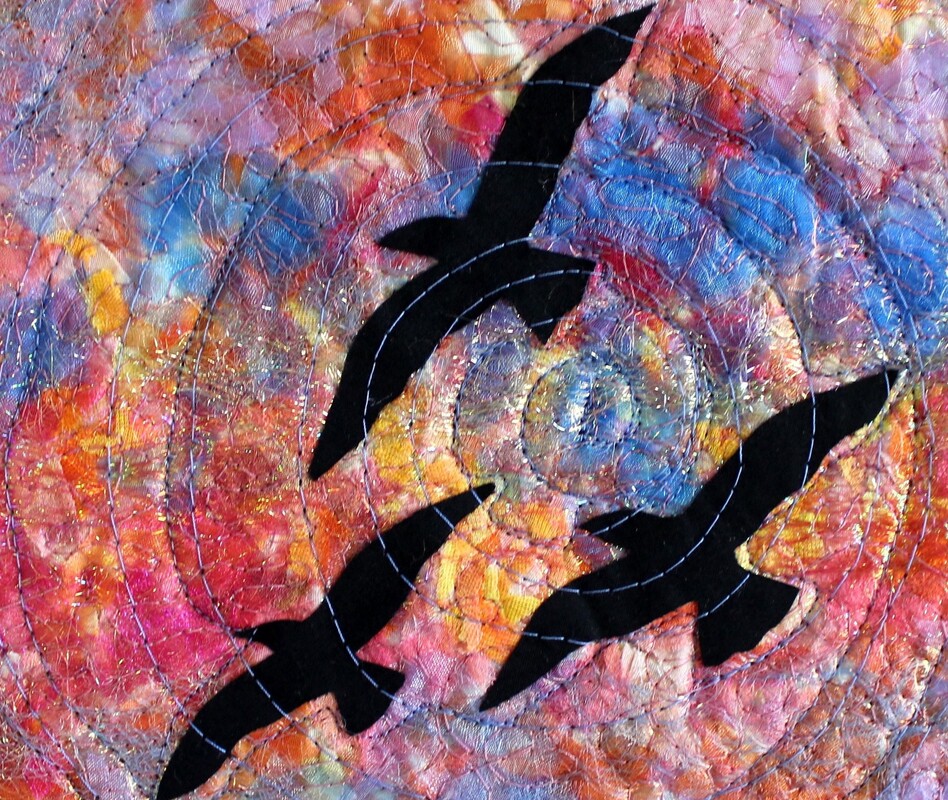
 "FREE" Free is a quick project that is a fun tutorial. There are step by step photos and short descriptions as well as some drawings and suggestions... I hope you enjoy! Free by Caroline Sharkey Requirements The Sky 30x30cm pink cotton background fabric 30 x 30cm heavy iron on stabilizer 30x30cm water soluble Vilene or wash away product Assorted sunset coloured organza or soft style fabrics Teaspoon of sequins in your choice of colour Optional Silver Angelina Fibres Pink thread The Birds 20x 20cm black cotton fabric 20x20cm heavy iron on stabilizer 20x 20cm fusible web Visoflix product 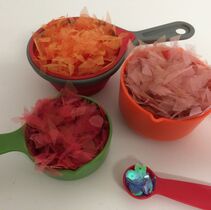 1. Chop the fabrics up into confetti size snips. Iron the iron-on stabilizer onto the wrong side of your background fabric. 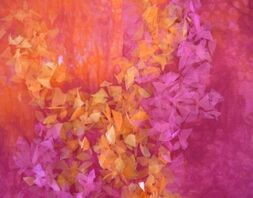 2. Lay the chopped fabrics onto the prepared fabric background add more colours and lay them in a circular swirling style design onto the sky background fabric…add plastic sequins as desired and Angelina Fibres onto the surface. 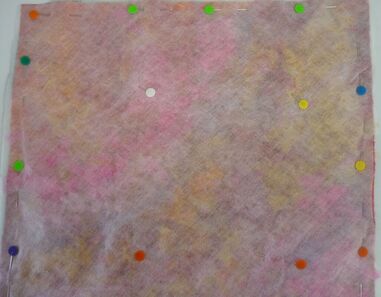 3. Cover the snippets with the water-soluble fabric over the entire background and pin completely to hold it flat and secure ready for stitching. Machine set up attach the Darning foot or Free motion foot to your machine and lower the feed dogs You are now set up for free motion stitching this piece. 4. Stitch the whole surface with pink thread so it will blend into the surface. Keeping the stitches, a close distance apart as this will determine that the snippets stay on the background fabric. 5. Once the surface is completely covered with stitching, wash in warm water to dissolve the water-soluble fabric away then set this sunset sky fabric out to dry. Prepare the birds shapes Iron the stabilizer to the wrong side of the black fabric ready for the bird shapes. Trace the bird shapes on the paper side of the fusible web product 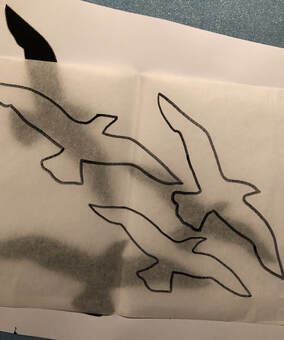 6. Iron the bird shapes sticky side down onto the stabilized side of the black fabric. 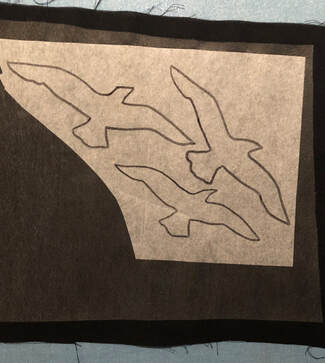 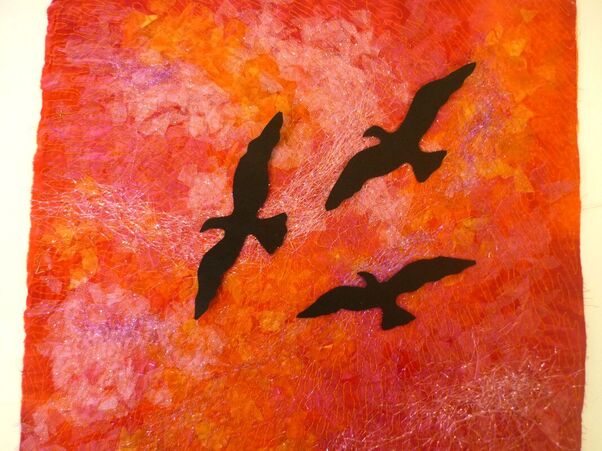 7. Now cut out the shapes of the birds on the traced lines. Peel off the paper side of the bird shapes and position them onto the dry sunset fabric sky. Cover with a piece of baking paper to protect the iron and the soft fabrics in the sky fabric. Press with a hot iron to secure the birds into position. 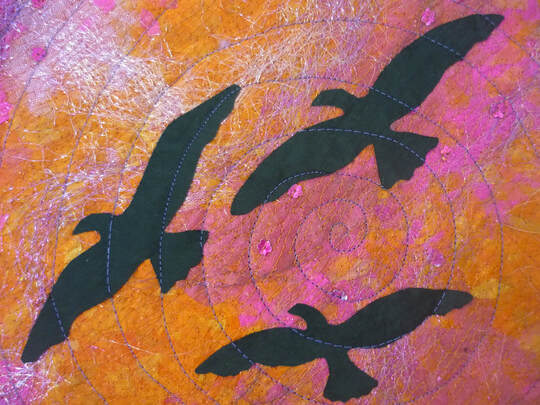 8. Stitch the surface in a swirling direction over the birds and the background with the pink thread to give the surface movement and also secure the birds down You can now finish the piece as you wish. 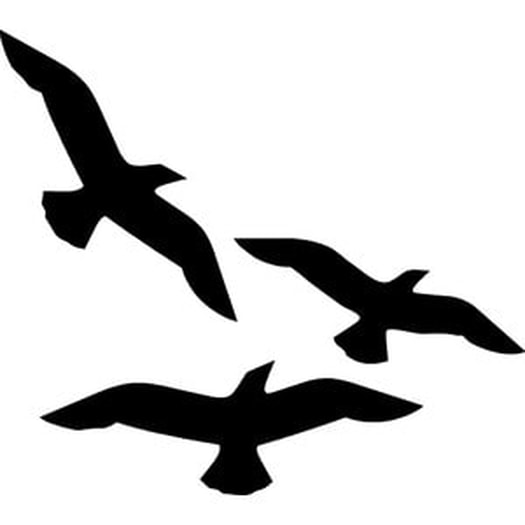 Optional You can either quilt through the sandwich of wadding and backing fabrics or just the project in circles to stitch the across the birds to create circular flight lines. Also opportunities to mix up the chopped fabric colours to change up the sky colours...play with ideas and add extra colours you may prefer. Also added extra option design of butterflies. 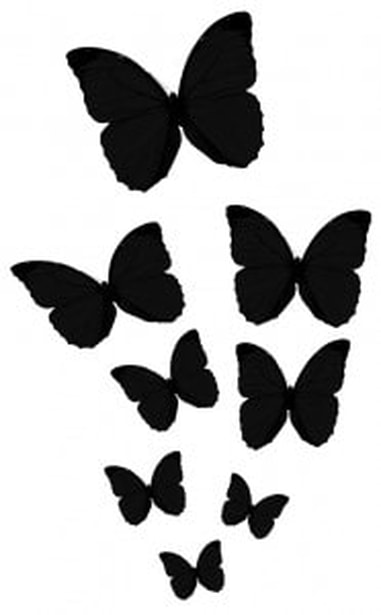 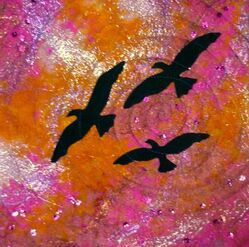 Copyright Caroline Sharkey 2019
1 Comment
|
HiI'm Caroline, and I use fabric and thread to tell my story. Archives
August 2023
Categories |


 RSS Feed